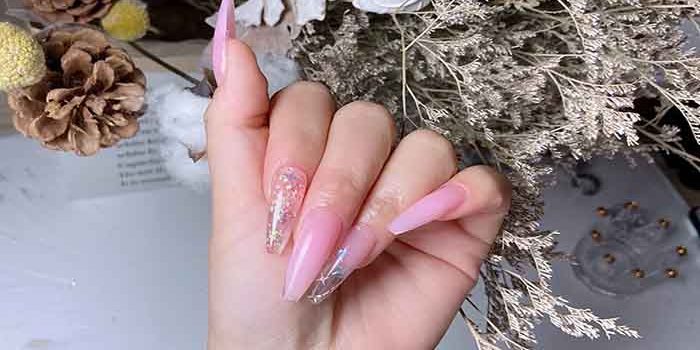
In this blog, we are going to explain how to apply polygel on your nails step by step. To give your polygel nails more durability, it is best to use a rubber base under the acrylic gel. It ensures an even better adhesion to the natural nail plate.
Step 1: Degrease the nails with a nail prep after preparing the nail plate. Depending on the type and condition of the nail plate, apply the correct primer.
Step 2: Apply a layer of base, cure in lamp (LED 30-60s / UV 120-180s).
Step 3: Apply a stencil in the right place. Using the spatula, apply a small amount of acrylic gel to the nail just before the edge with the stencil.
Step 4: Model the acrylic gel with the moistened gel brush to obtain a good base. Cure in lamp (LED 60-90s / UV 120s).
Apply more acrylic gel with the spatula and mold the nail to the correct shape. Cure in lamp (LED 60-90s / UV 120s).
Step 5: Remove the sticky layer with the Detergente Cleaner. File the nail to the correct shape.
Step 6: If you wish, apply one of the semi-permanent varnish colors. Finish the manicure with a top coat of your choice.
We hope you liked this article and that it will inspire you for future. In addition to these, I advise you to invest in a complete manicure set to care for your nails in daily life. To help you in your choice, I invite you to visit our website.
Read also: The difference in catalysation between UV products and acrylic


